
There is an intoxicating magic in watching fragile, pale-white roots emerge from a dormant plant cutting suspended in a cylinder of sunlit water. Water propagation offers the absolute highest success rate for indoor gardening enthusiasts, stripping away the guesswork of hidden soil moisture and letting you multiply your favorite indoor greenery completely free.
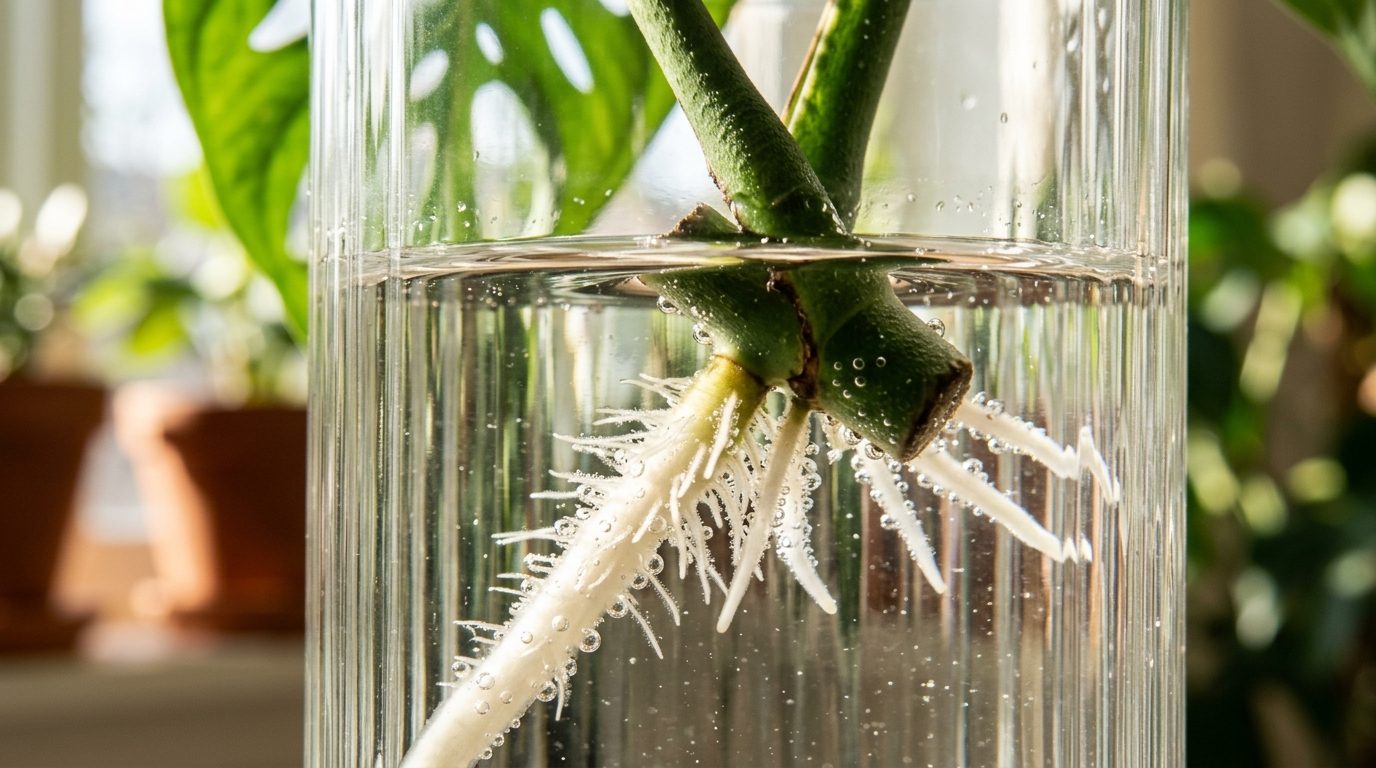
Unlike traditional potting soil cloning—which leaves root development invisible beneath peat and perlite—water propagation transforms plant multiplication into an architectural living tablescape. Whether you are expanding a sprawling collection of low light indoor houseplants or looking to accent an indoor herb garden, learning how to correctly isolate plant nodes and balance oxygenated water will turn your windowsill into a thriving miniature greenhouse.
Why Water Propagation is Superior for Beginners
For novice plant parents and seasoned interior stylists alike, water rooting provides several distinct physiological and aesthetic benefits:
- Instant Visual Feedback: You monitor cell development daily without disturbing fragile roots or digging through wet substrate.
- Rot Prevention Visibility: Any bacterial discoloration or stem softening is noticed immediately, allowing you to sanitize and rinse before damage spreads.
- Built-In Decor Value: Sleek glass vessels, vintage apothecary jars, or minimalist wooden stations instantly elevate a home’s shelves or workstations.
- Pest Elimination: Soil-borne pests like fungus gnats cannot breed in clean, circulating tap or distilled water.
Essential Supplies for Rooting Station Success
Before making your first stem cut, gathering the proper botanical toolkit ensures clean, infection-free plant incisions.

- Sterilized Precision Shears: Avoid dull scissors that crush cellular vascular walls; use surgical floral snips wiped with 70% isopropyl alcohol.
- Vessel Choice: Clear glass allows light penetration, while amber or green glass naturally inhibits green algae growth along waterlines.
- Filtered or De-Chlorinated Water: Sensitive tropical varieties thrive when tap water has rested for 24 hours to let dissolved chlorine dissipate.
- Cinnamon Powder or Ground Charcoal: Optional natural anti-fungal powders to dust cut mother stems and keep bacterial pathogens at bay.
Step-by-Step Walkthrough: Mastering the Node Cut
The single greatest reason water cuttings fail is cutting along the internode rather than below an active growth node. Follow this foolproof four-step sequence:
1. Identify the Node: Search the vine or stem for small brown nubs, leaf joint intersections, or aerial root rings. This concentrated zone of plant growth hormone is where roots originate.
2. Cut at a 45-Degree Angle: Position your razor-sharp shears approximately 1/4 inch below the node. Slice cleanly at a 45-degree angle to maximize the surface area for moisture uptake.

3. Strip Lower Foliage: Remove any leaves that would sit submerged below the water level. Submerged foliage quickly decomposes, encouraging anaerobic rot.
4. Callus and Submerge: Allow thin-stemmed plants like pothos to callus for 15 minutes, or plunge immediately into room-temperature water so the node is completely immersed while the leaves stay dry above.
3 Insider Secrets for Lightning-Fast Root Growth
1. The Pothos Catalyst Hack: Golden Pothos naturally excretes extraordinary levels of indole-3-butyric acid (a potent rooting hormone) into water. Dropping a single pothos cutting into the same jar with stubborn monsteras or fiddle-leaf cuttings will double their rooting speed.
2. Ambient Warmth Over Direct Sun: Bright indirect morning light stimulates photosynthesis, but direct hot afternoon rays bake the vessel and trigger stagnant root rot. Place stations in bright rooms with room temperatures between 68°F and 76°F.
3. Weekly Oxygen Cycling: Stagnant water depletes dissolved oxygen over 7 days. Dump and refresh water every 5 to 7 days to replenish oxygen molecules essential for rapid cellular respiration.
Transitioning Water Roots to Permanent Soil
Once delicate white adventitious water roots reach 2 to 3 inches in length with secondary branching, your cutting is fully primed for potting.

- Use an Airy Aroid Soil Mix: Blend 40% indoor potting soil with 30% perlite and 30% orchid bark to cushion fragile water roots and prevent compaction.
- Keep Soil Moist for 10 Days: Water roots are adapted to liquid suspension. Keep the potting mix lightly moist for the first 10 to 14 days before gradually tapering back to normal watering routines.
- Pot Size Matters: Do not overpot! Plant newly rooted cuttings in 3-inch or 4-inch pots to prevent excess wet soil from suffocating the developing root ball.
Frequently Asked Questions
Can cuttings live in water permanently?
Yes, many varieties like Pothos, Philodendron, and Lucky Bamboo can survive for years in water alone. Simply add two drops of liquid hydroponic fertilizer once a month to supply essential micronutrients.
What causes murky, smelly water?
Murky water is caused by decaying plant matter or bacterial colonization. Immediately discard the water, gently rinse the roots under lukewarm running water, snip off any mushy brown sections, and wash the glass bottle with mild soap before refilling.
Why are the roots turning dark brown?
If the roots are firm, light brown coloration is often normal tissue maturation. If they are slimy and slip off when touched, it is root rot caused by oxygen deprivation or heat. Cut away damaged roots and change the water more frequently.
Pin This Propagation Guide for Later
Growing your indoor jungle? Save this guide to your indoor plant or botanical DIY board on Pinterest so you never lose these crucial rooting tips!
Cut 3 pothos nodes following your angled cutting guide. Replaced the water every 5 days and had healthy 1.5-inch roots by day 14. Potted them into fresh soil yesterday and zero transplant shock.
Hi Kevin! Regular water refreshes are the real secret to avoiding rot and getting those roots thriving fast. Congratulations on the new plants!