
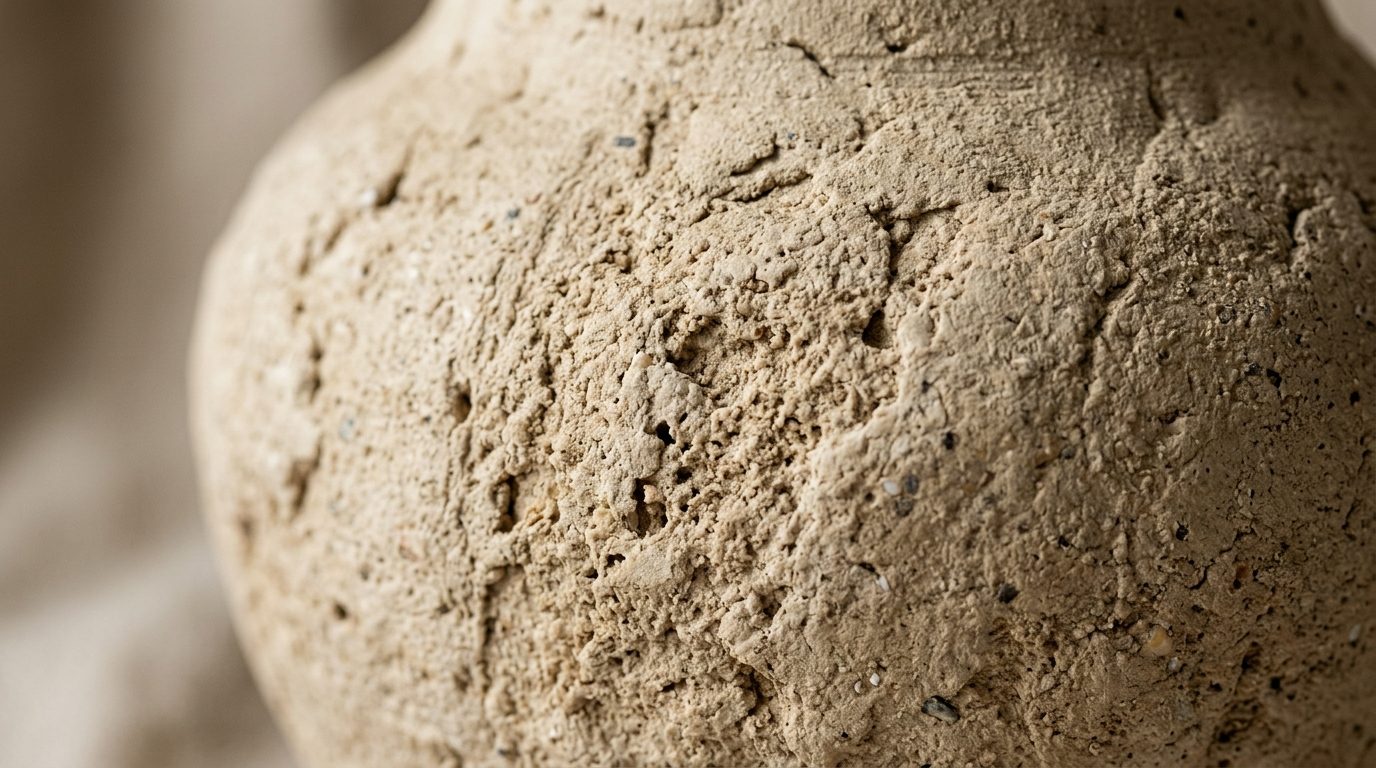
Artisan stoneware and aged travertine ceramics are central pillars of high-end organic modern interior design, yet gallery-grade studio vessels often command price tags well north of $200. With a refined chemical formulation combining matte acrylic paint, alkaline sodium bicarbonate (baking soda), and fine plaster aggregate, you can transform ordinary thrift-store glass vases and outdated shiny ceramic vessels into heavyweight, museum-worthy stone pottery in a single afternoon.
In our tutorial on the DIY faux terracotta pumpkin makeover, we explored how surface texturing eliminates synthetic sheen. This stone ceramic technique builds upon that foundation by layering micro-aggregates and multi-tonal paint wash, producing the genuine tactile weight and organic imperfections of centuries-old European earthenware.
Why You’ll Love This Textured Pottery Upcycle
- Unbeatable Cost Transformation: Repurpose standard $2 thrift-store florist glass or dollar-store vases into vessels indistinguishable from designer boutique pottery.
- Authentic Mineral Texture: Creates genuine physical depth, organic pitting, and a non-reflective matte finish that mimics carved limestone or coarse clay.
- Permanent Bond: By scuffing slick substrates with 220-grit abrasives, the paint-mineral matrix adheres permanently without peeling, flaking, or scratching.
- Perfect Companion Piece: Designed to display dried botanical arrangements like those from our DIY dried floral fall wreath or autumn pampas grass stems.
Supplies & Material Formulation

To replicate the authentic tactile finish of aged stoneware, the mixture must have both coarse volume and fine binder strength. Avoid watery school paints; use heavy-body or chalk-finish acrylics:
- Vessel Base: Any smooth clear florist glass vase, ceramic pitcher, or cylindrical wine bottle.
- Base Acrylic Paint (1/2 cup): Ultra-matte craft acrylic or sample latex wall paint in earthy neutral tones (warm beige, soft greige, bleached oatmeal, or bone white).
- Baking Soda (1/4 cup): Acts as the aeration agent and micro-crystallizing filler.
- Fine Plaster or Craft Sand (2 tablespoons): Adds physical hardness and micro-granules that prevent the dried coating from crumbling.
- Application Tool: A 2-inch coarse natural-bristle chip brush (cheap brushes with stiff uneven bristles create far better stone texture than expensive synthetic brushes).
- Surface Prep: 220-grit sanding sponge and isopropyl rubbing alcohol for surface degreasing.
Step-by-Step Walkthrough: Crafting Stoneware Texture
1. Surface Scuffing & Degreasing: Glass and glazed ceramics have non-porous slick surfaces. Rub the entire exterior firmly with 220-grit sandpaper to create micro-abrasions (mechanical tooth). Wipe the surface clean with isopropyl alcohol on a microfiber cloth to remove all oil and dust.
2. Compounding the Texture Paste: In a wide bowl, combine 1/2 cup matte paint, 1/4 cup baking soda, and 2 tbsp fine plaster. Stir vigorously for 60 seconds with a wooden paddle. The mixture will puff slightly and adopt the consistency of thick Greek yogurt or joint compound.

3. The Stippling First Coat: Dip the tips of your chip brush directly into the paste. Dab the brush perpendicularly against the glass in a rhythmic “stippling” motion rather than dragging brush strokes. Cover the entire outer surface, carrying the paste 1 inch down into the interior rim so no glass edge remains visible. Let dry for 45 minutes.
4. Cross-Hatch Second Coat & Pit Sculpting: Apply a second coat using gentle horizontal and vertical criss-cross taps. Lightly drag the dry brush tip across selected areas to create subtle horizontal throwing ridges reminiscent of pottery wheel marks. Allow 3 to 4 hours to cure completely.
5. The Dilute Patina Wash (Optional): For deep aged character, mix 1 teaspoon of raw umber paint into 3 tablespoons of water. Lightly wash over the dried texture and immediately blot with a damp paper towel. The dark pigment will settle into the crevices, accentuating the travertine stone relief.
3 Artisan Secrets for Flawless Results
1. Work Rapidly Before Air-Curing: Baking soda paint formulas begin skimming over within 8 minutes. Paint in continuous sections rather than touching up dry spots, which can cause clumping. If the paste thickens too much in the bowl, stir in 1 teaspoon of water to restore workable viscosity.
2. Sealing for Durability: While the cured texture is sturdy, direct handling with damp hands can soften raw baking soda. Coat the finished vessel with two light passes of an aerosol ultra-matte clear acrylic sealer (such as Krylon Flat Matte Finish) to protect against fingerprints and moisture.
3. The Water-Holding Hack: This texture is applied strictly to the exterior. To use the vessel for fresh floral stems with water, place a smaller slim drinking glass or test tube inside to hold the water, ensuring the textured outer vessel stays completely dry.
The Finished Vessel Styled in the Home

Set upon a console table, styling your modern rustic fall mantel, or positioned beside your living room seating alongside warm earthy decor accents, this handcrafted vessel brings instant organic modern soul into your interior.
Color Formulas for Popular Mineral Styles
| Stone Look | Base Paint Mix | Texture Additive | Final Patina |
|---|---|---|---|
| French Travertine | Warm oatmeal beige + hint of raw sienna | Baking soda + fine sand | Raw umber water wash in crevices |
| Limestone / Chalk | Off-white / bone linen + drop of taupe | Baking soda + plaster of Paris | No wash; sand peaks lightly with 320 grit |
| Volcanic Basalt | Charcoal gray + drop of burnt umber | Coarse baking soda | Matte black dry-brush along ridges |
| Aged Terracotta | Dusty terracotta + burnt orange | Fine baking soda | White chalk dust rubbed onto surface |
Frequently Asked Questions
Will the baking soda paint mixture peel off slick glass over time?
Not if you scuff the glass thoroughly with 220-grit sandpaper and wipe away all oils before painting. The micro-abrasions give the acrylic polymers a mechanical bond that locks onto the glass permanently once fully cured.
Can I wash this vase with soap and water?
No, this is a decorative art vessel. It should not be submerged in water or placed in a dishwasher. Dust it gently with a dry microfiber cloth or soft feather duster.
Can I use regular table salt instead of baking soda?
No. Table salt (sodium chloride) dissolves unevenly into wet paint, creating sticky crystalline patches that absorb ambient humidity and weep over time. Sodium bicarbonate is chemically stable and produces the ideal fine, chalky porous texture.
Pin This DIY Textured Stone Vase Tutorial for Later
Ready to upcycle your thrift-store glassware into organic pottery? Pin this DIY textured stone vase tutorial to your home decor crafts board on Pinterest so you have the exact formula ready for your weekend project!
Leave a Comment