
When late autumn arrives and evenings start darkening by five o’clock, lighting a natural candle turns an ordinary quiet room into a warm, grounding sanctuary. While poured candle making often involves double boilers, thermometer monitoring, and messy wax cleanup, rolling your own beeswax candles requires zero heat and zero specialized machinery. Using textured honeycomb beeswax sheets and pure braided cotton wicks, you can craft elegant, clean-burning taper and pillar candles on a simple kitchen counter in under fifteen minutes. The gentle, natural aroma of warm honey and the tactile satisfaction of rolling wax sheets make this one of the most calming, restorative domestic crafts for chilly autumn afternoons.
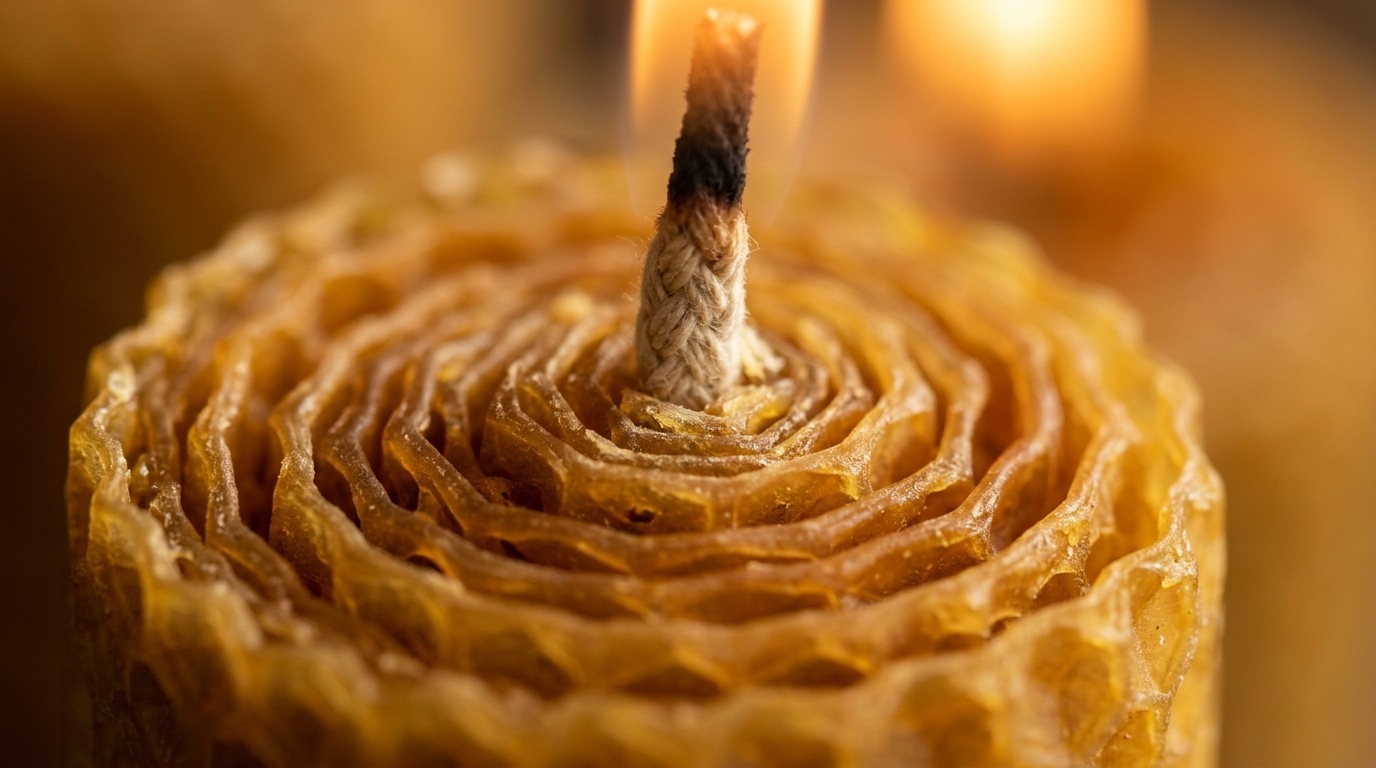
Unlike paraffin candles derived from petroleum by-products or heavily scented synthetic waxes, pure beeswax is an unadulterated gift from honeybees. It burns cleanly with a high melting point, producing an exceptionally bright, warm-toned flame that closely mimics the spectrum of natural sunlight. Whether you want a set of slender tapers for your dining table, a thick pillar for a bedside nightstand, or a thoughtful handmade host gift, rolled beeswax candles offer an accessible, zero-waste introduction to traditional candlemaking that anyone can master on their first try.
Why Rolled Honeycomb Sheets Beat Melted Wax for Beginner Candle Making
If you have ever hesitated to make candles at home because of the equipment and cleanup involved, rolled beeswax is the simplest way to begin. Working with embossed foundation sheets provides four distinct advantages:
- Zero Boiling Wax or Burn Hazards: Traditional poured candles require melting solid wax to 160°F–185°F (71°C–85°C) and carefully monitoring pour temperatures. Rolled candles use room-temperature wax sheets, making them completely safe to make with children or around small domestic spaces.
- Instant Gratification: Poured soy or beeswax candles need 24 to 48 hours to cure and solidify before you can trim the wick and burn them. A rolled beeswax candle is structurally complete and ready to light the second you finish rolling.
- Zero Chemical Fragrances or Clean-Up: Pure beeswax possesses a subtle, natural aroma of wildflowers and warm honey that releases naturally as it burns. There are no pots to scrape, no pouring pitchers to scour, and no chemical solvents required.
- Complementary Seasonal Rituals: Handcrafted candles bring grounding warmth to other mindful routines, such as our fall night routine habits and our cozy autumn evening routine.
Essential Materials: Honeycomb Sheets, Square Braid Wicks & Warmth Triggers
You only need a handful of basic tools and materials, most of which you likely already have in your kitchen or craft drawer:

- Honeycomb Beeswax Sheets: Standard beekeeping foundation sheets measure approximately 8 x 16 inches (20 x 40 cm). Look for 100% pure beeswax sheets embossed with the classic hexagonal comb pattern. Natural unbleached wax ranges from golden buttercup yellow to warm amber, while filtered wax offers an elegant creamy ivory tone.
- 100% Square Braid Cotton Wick: Beeswax has a high melting point (144°F–147°F / 62°C–64°C) and requires a sturdy, self-trimming wick. Avoid flat braided or zinc-core wicks. Use #1 or #2 square braid cotton wick for standard 7/8-inch tapers, and #3 or #4 for thicker 2-inch pillars.
- Cutting Mat & Cork-Backed Metal Ruler: A firm cutting surface and a non-slip ruler allow you to slice straight lines quickly without stretching or tearing the wax sheets.
- Sharp Utility Knife or Rotary Cutter: A fresh craft blade slices through wax cleanly without crushing the delicate raised hexagonal cell borders.
- Gentle Warmth Source (Optional Hairdryer): In chilly autumn rooms, beeswax becomes stiff and prone to cracking when bent. A warm draft from a low-setting hairdryer makes the sheets supple and pliable in seconds. This same pliable wax quality is featured in our guide on how to make diy beeswax wraps.
Wick Selection & Sizing: Why Braid Direction & Diameter Dictate Clean Burning
Selecting the correct wick is the single most important technical detail in candlemaking. Beeswax is dense and viscous when liquid, which means an undersized wick will drown in its own melt pool, while an oversized wick will smoke and mushroom:
Wick Sizing Matrix for Rolled Beeswax Candles
| Candle Diameter | Recommended Wick | Standard Height | Approximate Burn Time |
|---|---|---|---|
| 1/2-inch Birthday / Chime | #1/0 or #2/0 Square Braid | 4 to 6 inches | 1.5 to 2 hours |
| 7/8-inch Standard Taper | #1 or #2 Square Braid | 8 to 10 inches | 4 to 5 hours |
| 1.5-inch Medium Pillar | #3 Square Braid | 6 to 8 inches | 8 to 10 hours |
| 2 to 3-inch Large Pillar | #4 or #5 Square Braid | 6 to 8 inches | 18 to 24 hours |
Checking the Braid Direction: Square braid wick is directional. Look closely at the braided thread loops: they form a series of subtle “V” shapes along the cord. The open top of the “V” should point toward the top of the candle where you light the wick. This directional weave ensures that the wick curls gently into the outer oxygen zone of the flame as it burns, providing self-trimming action and preventing soot buildup.
Step-by-Step Hands-On Rolling Technique: From Wick Anchor to Tight Core
The beauty of rolled beeswax candles comes from a compact, solid interior core. If you roll too loosely, air channels inside the candle will cause the flame to flicker erratically and gutter down the side:

- 1. Temper the Wax: Lay your beeswax sheet flat on your work surface. If your workspace is cooler than 68°F (20°C), run a hairdryer on low heat about 12 inches above the sheet for 15 to 20 seconds. The wax will soften slightly and become velvety and pliable to the touch.
- 2. Position the Wick: Cut a length of square braid cotton wick that is approximately 3/4 inch longer than the height of your wax sheet. Lay the wick along the short edge of the sheet, allowing about 1/2 inch of wick to protrude from the top end (the end that will become the tip of your candle).
- 3. Anchor the Core: Using the pads of your thumbs and forefingers, fold the very edge of the wax sheet over the cotton wick. Press down firmly along the entire seam to envelop the wick completely in wax. This initial fold is the anchor; ensuring it is tight and firm prevents the wick from slipping out during burning.
- 4. Roll Evenly with Palm Pressure: Once the wick is fully enclosed, begin rolling forward using the flat palms of both hands rather than just your fingertips. Apply moderate, downward pressure as you roll across the mat to keep the cylinder tight and parallel. Avoid stretching the wax outward.
- 5. Seal the Final Edge: When you reach the opposite end of the sheet, gently press the trailing edge into the body of the candle with your thumb pads. The natural warmth of your skin is enough to fuse the soft beeswax into a seamless, barely visible seam.
3 Classic Shapes to Roll (Classic Tapers, Sturdy Pillars & Angled Spirals)
By simply altering how you slice your beeswax foundation sheets before rolling, you can create three distinct silhouettes for different table arrangements:
1. The Classic 8-Inch Dining Taper
Take a standard 8 x 16-inch sheet and cut it in half lengthwise into two 8 x 8-inch squares. Roll each 8-inch square from one end to the other using a #2 square braid wick. Each square yields one standard 7/8-inch diameter dining taper that fits perfectly into traditional brass or ceramic candle holders.
2. The Sturdy 3-Inch Pillar
To make a thick centerpiece pillar, keep the full 8-inch width and roll an entire 8 x 16-inch sheet using a #4 square braid wick. Once the first sheet is rolled, take a second 8 x 16-inch sheet, butt its leading edge against the seam of the first candle, and continue rolling tightly around it. This builds a substantial 2.5 to 3-inch pillar candle with an impressive 20-hour burn time.
3. The Angled Honeycomb Spiral (Tree Silhouette)
Cut an 8 x 16-inch sheet diagonally from the top left corner to the bottom right corner, creating two right triangles. Place the wick along the 8-inch straight vertical edge, anchor it firmly, and roll toward the tapered point. As you roll, the diagonal cut creates a graceful stepped spiral resembling a stylized autumn fir tree.
Burn Habits, Wick Trimming & Safe Ceramic Display Tips
To enjoy the cleanest, longest-lasting burn from your handmade candles, follow these mindful care habits:

- Initial Wick Prime: Before lighting your new candle for the first time, dip the protruding tip of the cotton wick into a bit of melted beeswax or rub it with a scrap of wax. This primes the wick so it catches flame immediately without charring the bare cotton threads.
- Keep Wicks Trimmed to 1/4 Inch: Always trim the wick to 1/4 inch (6 mm) before each lighting. A wick that is too long will create a tall, flickering flame that burns through wax too quickly and produces soot. For complete maintenance details, review our companion beeswax candle care guide.
- Prevent Drafts: Place candles away from open windows, ceiling fans, or air vents. Drafts push the flame against one side of the cylinder, causing the outer wax wall to breach and drip down your table linen.
- Pillaring the Edges: As your pillar candle burns down, the outer hexagonal walls will remain standing. While the wax is still warm and soft after extinguishing, gently press the top rim inward toward the center with your fingers (a technique known as “hugging”). This allows subsequent burns to consume all the remaining wax cleanly with zero waste. Compare this clean burn aesthetic to our how to make diy soy candles guide.
Save This Rolled Beeswax Candle Guide to Pinterest
Love this tactile autumn craft? Save this tutorial to your DIY Candles, Natural Living, or Fall Decor Pinterest board so you have these sizing tables and rolling tips ready for your next cozy afternoon project!
Leave a Comment