
There is a grounding simplicity in lighting a candle that you poured with your own hands on a quiet weekend afternoon. Handcrafting DIY soy candles at home is one of the most practical and satisfying home rituals you can master, requiring just clean natural soy wax flakes, cotton wicks, amber glass jars, and wholesome essential oils. Unlike store-bought candles that often carry synthetic petroleum bases and heavy artificial perfumes, homemade soy candles burn remarkably cleanly, throwing a subtle, warm aroma that gently scents your living space without overwhelming the senses.
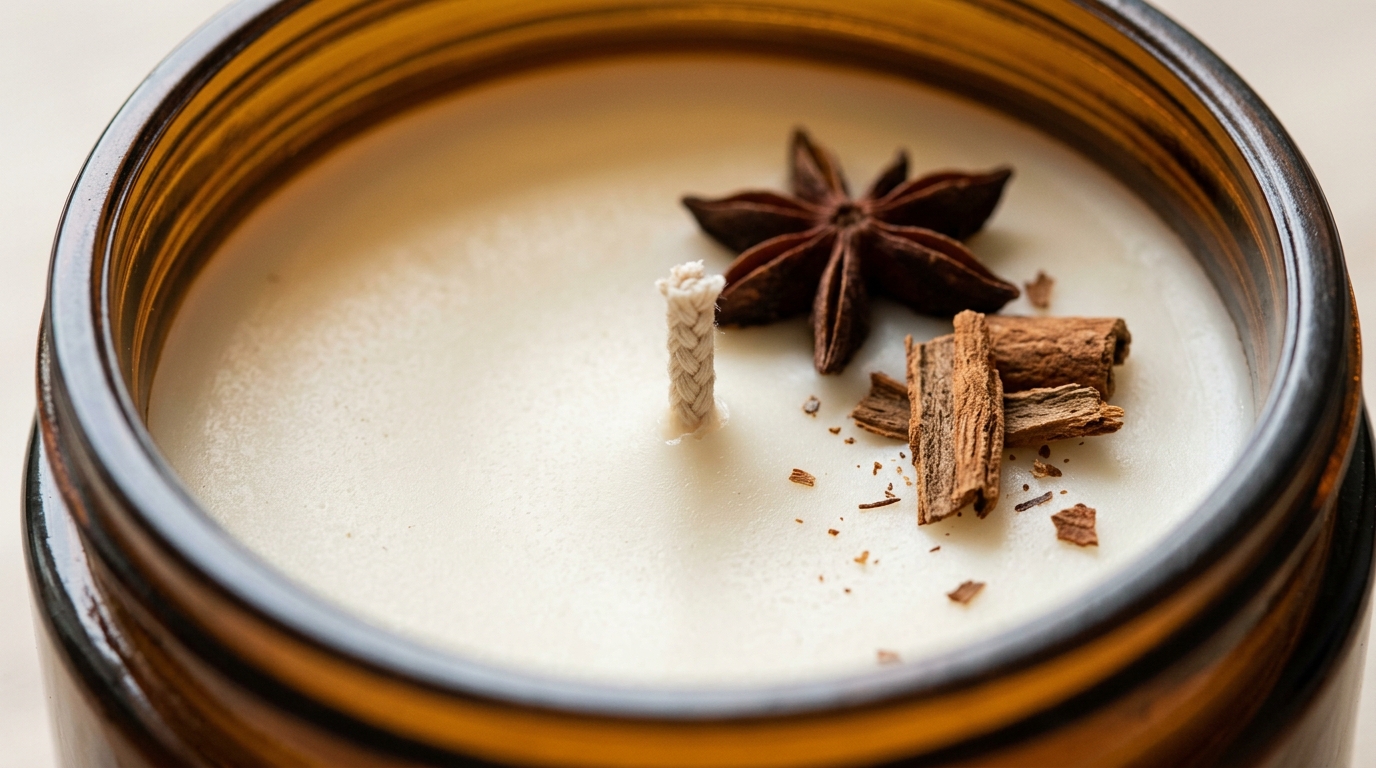
While candle making might seem intimidating to beginners due to temperature checks and wick sizing, the underlying process follows straightforward physics. Once you understand the three critical temperature milestones—when to remove wax from heat, when to incorporate botanical oils, and when to pour into jars—you will consistently achieve smooth candle tops with zero tunneling. Here is our complete step-by-step guide to pouring clean-burning soy candles at your kitchen counter.
Why Natural Soy Wax Outperforms Paraffin in the Home
When selecting your candle making foundation, the wax you choose directly affects how cleanly the flame burns and how long the jar lasts. Here is why pure soy wax remains the preferred medium for home crafters:
- Clean Combustion: Paraffin wax is derived from crude oil refining and can produce dark soot that settles on walls and ceilings. In contrast, 100% pure soy wax is pressed from hydrogenated soybean oil, burning with virtually zero petroleum soot when paired with a properly trimmed cotton wick.
- Lower Melting Point & Extended Burn Time: Soy wax melts between 115°F and 125°F (46°C to 52°C), which is substantially lower than paraffin. Because it burns cooler, an 8-ounce soy candle burns for approximately 40 to 50 hours—roughly 30% to 50% longer than a paraffin candle of identical size.
- Water-Soluble Cleanup: Because soy wax is plant-based, spills on countertops, measuring cups, and metal pitchers clean up effortlessly with warm water and ordinary dish soap. You will never need harsh mineral spirits or chemical solvents to clean your workstation.
Essential Candle Making Supplies: Wax Flakes, Wicks & Glass Jars
You do not need specialized workshop equipment to pour reliable candles. A few basic tools from your kitchen and craft pantry will set you up for dozens of successful batches:
- Golden Wax 464 Soy Flakes: The industry standard for beginner candle making. This specific soy formulation contains a natural soy-based additive that reduces surface frosting and promotes smooth container adhesion.
- Braided Cotton Wicks (ECO or CD Series): For standard 8-ounce jars with a 2.75-inch diameter, look for ECO-6 or CD-10 cotton wicks with pre-attached metal tabs. Avoid zinc-core or wire-cored wicks. For proper wick maintenance techniques, review our candle care and wick trimming guide.
- Heat-Resistant Amber Glass Jars: 8-ounce straight-sided amber or clear glass jars are ideal. Amber glass provides warm ambient glow and protects plant oils from sunlight degradation.
- Digital Kitchen Thermometer: Accurate temperature control is the single most important factor in achieving smooth candle surfaces without craters.
- Stainless Steel Melting Pitcher & Wick Clips: A 2-pound metal pouring pitcher set inside a simmering water bath acts as an efficient double boiler, while wooden wick clips keep wicks upright during cooling.

The Temperature Science: When to Melt, Scent & Pour
Candle making is governed by three precise thermal stages. Memorizing these temperatures ensures that your essential oils bind securely into the molten wax without burning away during mixing:
Golden Wax 464 Temperature Milestones
- Melting Stage (185°F / 85°C): Heat soy flakes slowly in your double boiler until completely clear and liquid. Reaching 185°F ensures the wax crystal memory is fully reset.
- Fragrance Addition (180°F to 185°F): Remove the pitcher from heat and immediately stir in your essential oils or natural fragrance for 2 full minutes. The warmth allows the oils to incorporate uniformly without flashing off.
- Pouring Stage (135°F / 57°C): Allow the wax to cool undisturbed until it reaches 135°F. Pouring at this cooler temperature prevents rapid container shock, eliminating sinkholes and center pull-away.

Step-by-Step Soy Candle Pouring Walkthrough
Follow these five sequential stages to make a batch of two 8-ounce amber soy candles:
1. Measure Wax and Prep Jars: Weigh out 16 ounces (450 grams) of soy wax flakes on a digital kitchen scale. Place a wick sticker or dab of high-heat glue on the metal base of two ECO-6 cotton wicks, and press them firmly into the dead center of two clean amber glass jars. Thread the wick tops through wooden centering clips resting across the jar rims.
2. Melt the Wax to 185°F: Place your metal pouring pitcher into a medium saucepan filled with 1 to 2 inches of gently simmering water (a makeshift double boiler). Add the wax flakes and heat over medium-low heat, stirring occasionally with a metal spoon, until the thermometer registers 185°F (85°C).
3. Stir in Natural Oils for 2 Minutes: Turn off the heat and lift the pitcher out of the water bath, wiping the wet bottom with a kitchen towel so water never drips into your jars. Add 1.2 to 1.4 ounces (approx. 35 to 40 grams) of your chosen essential oil blend. Stir slowly and continuously for a full two minutes to ensure the oil molecules disperse evenly through the liquid wax.
4. Cool and Pour at 135°F: Let the scented wax sit on a heat-safe silicone mat until the temperature drops to 135°F (57°C). Slowly pour the wax into each jar, leaving approximately 1/2 inch of space below the rim. Pour gently in a steady stream to avoid creating air bubbles along the wick.
5. Cool Undisturbed for 24 Hours: Let the filled jars sit on a flat counter at normal room temperature (68°F to 72°F) away from drafts, open windows, or air conditioning vents. Do not move or bump the jars while they solidify. Once completely firm and opaque ivory, trim the wick to 1/4 inch using sharp scissors or a wick trimmer.

3 Autumn Essential Oil Blends (Without Synthetic Fragrance)
Essential oils provide a subtle, authentic botanical aroma that never triggers the headaches associated with heavy synthetic fragrances. For each 8-ounce candle, use approximately 0.6 ounces (about 350 to 400 drops) of pure plant oils. Here are three tested autumn blends:
Sweet Orange & Clove
Warm, nostalgic citrus with a subtle spicy depth reminiscent of autumn baking.
- 150 drops Sweet Orange oil
- 120 drops Cedarwood oil (grounding base)
- 80 drops Clove Bud oil
- 30 drops Cinnamon Bark oil
Siberian Fir & Frankincense
Crisp evergreen needles balanced by resinous frankincense and earthy pine.
- 180 drops Siberian Fir or Pine oil
- 110 drops Frankincense oil
- 70 drops Cypress oil
- 20 drops Juniper Berry oil
Lavender & Smoked Vanilla
Soft floral top notes grounded by warm vanilla and sandalwood for quiet evening reading.
- 160 drops French Lavender oil
- 120 drops Pure Vanilla oleoresin
- 70 drops Amyris / Sandalwood oil
- 30 drops Bergamot (bergapten-free)
If you enjoy formulating natural botanical scents at home, explore our recipes for cozy fall diffuser blends and our easy diy fall room spray to build a cohesive seasonal atmosphere.
Troubleshooting Sinkholes, Frosting & Wick Tunneling
Why did a sinkhole or rough crater form around my wick?
Sinkholes occur when the top layer of wax cools and hardens faster than the molten core underneath. As the center cools and shrinks, it pulls downward. To prevent this, always pour at 135°F and let candles cool away from cold countertops (place jars on a cardboard or wooden surface). If a sinkhole happens, pass a craft heat gun over the surface for 30 seconds on low setting to melt a 1/8-inch top layer, which cools glassy smooth.
What is that white crystalline film on the surface of my candle?
This is known as “frosting” and is a universal characteristic of 100% pure soy wax. It occurs when vegetable fats recrystallize as they cool. Frosting does not affect burn quality, flame stability, or scent throw in any way; in fact, experienced candle enthusiasts view frosting as visible proof that a candle contains pure soy rather than paraffin.
How do I avoid wick tunneling during the first burn?
The first burn sets the candle’s “memory.” Always let your new candle burn continuously for 2 to 3 hours on its first lighting, until the molten wax pool reaches all the way to the glass edges. Extinguishing the flame before a full melt pool forms will cause the candle to tunnel downward on future lightings. Add this mindful ritual to your calm fall night routine.
Save This DIY Soy Candle Guide to Pinterest
How to Make DIY Soy Candles for Beginners
Save this clean-burning candle tutorial to your Pinterest DIY Crafts or Cozy Home board. Learn the simple temperature rules, wick choices, and natural autumn essential oil blends for perfect hand-poured candles.
Leave a Comment