
There is nothing quite as satisfying as transforming a humble ball of natural cotton yarn into a set of chic, functional home decor accents in under an hour. These easy crochet coasters deliver the ultimate blend of modern minimalist aesthetics, tactile tabletop protection, and rapid crafting gratification for beginners and experienced makers alike.
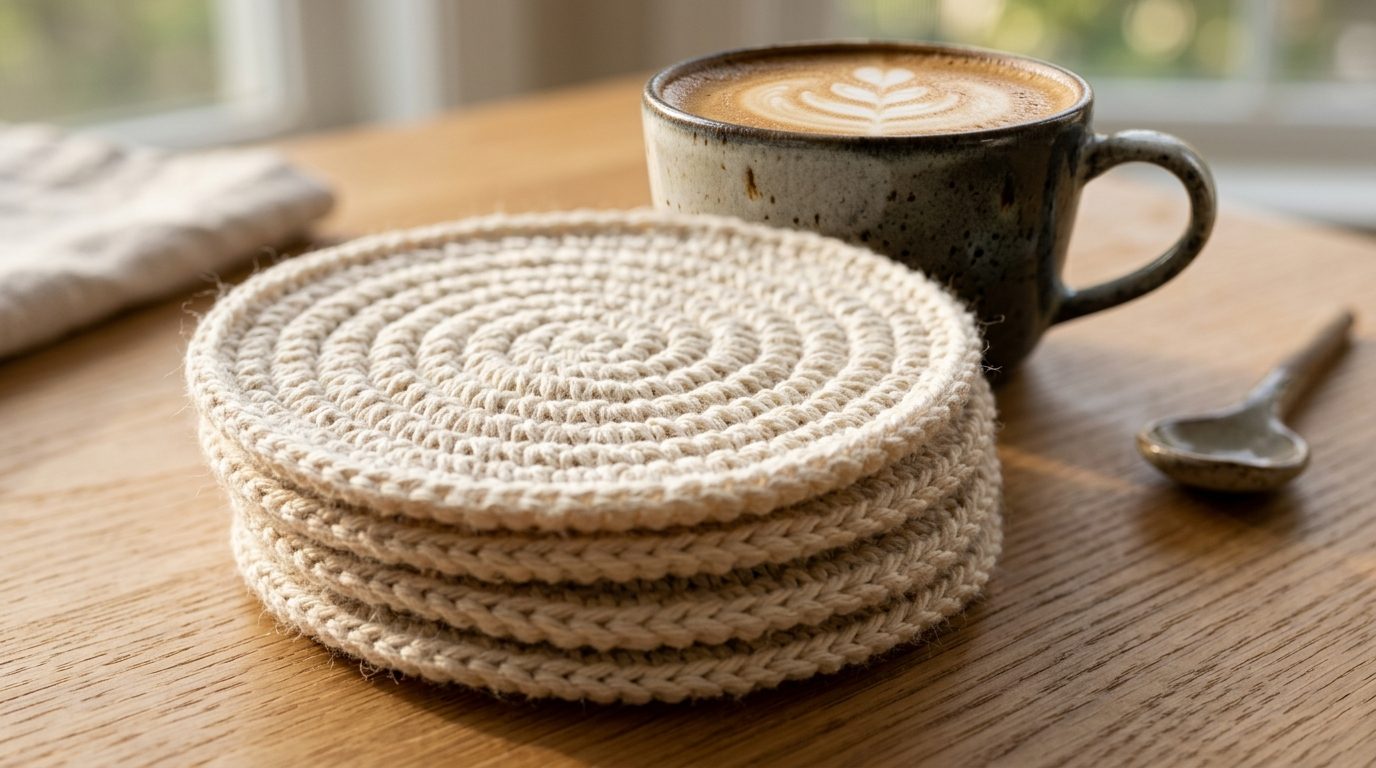
In modern interior styling, small handmade touches soften clean architectural lines. Whether you are styling an artisan display on a handcrafted fluted coffee table or introducing organic warmth to an organic modern kitchen island, crochet coasters offer functional beauty. By utilizing basic stitches with intentional loop placement and steady tension, this modern crochet coaster pattern helps achieve a clean, flat circular mat that lays smoothly on any tabletop.
Why You’ll Love This Modern Crochet Coaster Pattern
If you are searching for the ideal beginner-friendly yarn project, this free pattern checks every design and practical box:
- Lighting-Fast 15-Minute Make: Each individual coaster takes roughly 15 to 20 minutes from magic ring to final slip stitch.
- Reliable Flat-Lay Geometry: An even 10-stitch increase per round maintains balanced circumference tension, preventing the curling or cupping common in circular crochet.
- Everyday Heat & Moisture Absorption: 100% natural cotton fibers absorb condensation rings and protect tabletops from hot coffee mugs without softening or scorching. (Note: Drink coasters are designed for cups and mugs; for hot cookware straight from the oven or stove, always use a dedicated double-thick potholder or trivet).
- Budget-Friendly Handmade Gifting: A single 50g skein of cotton yields 3 to 4 complete coasters, making it an effortless weekend gift bundle.
Key Supplies & Smart Yarn Selection
Choosing the correct yarn fiber is the single most critical factor in coaster durability and practical performance.

- 100% Unmercerized Cotton Yarn (Worsted Weight #4): Always use pure cotton (such as Lily Sugar’n Cream, Lion Brand 24/7 Cotton, or Wool and the Gang Shiny Happy Cotton). Avoid 100% acrylic yarns for drink coasters; synthetic fibers do not absorb condensation and can soften or lose shape under hot ceramic mugs, whereas 100% cotton remains heat-stable and absorbent.
- Size H/8 (5.0 mm) Crochet Hook: Provides tight, structural stitch definition without tiring your wrist joints.
- Blunt Tapestry Yarn Needle: Essential for weaving in yarn tails invisibly through the back loops.
- Sharp Embroidery Scissors: Ensures clean, fray-free thread trimming at project completion.
📋 Maker’s Project Blueprint
Step-by-Step Crochet Walkthrough: Flat Circle Mastery
This project uses standard US crochet terminology: MR (Magic Ring), Ch (Chain), Hdc (Half Double Crochet), and Sl St (Slip Stitch).
Round 1 (The Foundation): Make a Magic Ring. Ch 1 (does not count as a stitch). Work 10 Hdc directly into the magic ring. Pull the tail firmly to close the center hole tight. Join with a Sl St to the first Hdc. (10 stitches total)
Stitch Anatomy Note (Third Loop vs. Back Loop): In half double crochet (HDC), each stitch creates three loops. You have the standard top "V" composed of a front loop and a back loop. When you tilt your work slightly toward you, you will see a diagonal horizontal bar running just behind and below the back loop—this is the third loop. Working your hook strictly into this third loop pushes the entire top "V" forward onto the front face of the coaster, creating a clean raised braided ridge. (Note: If you are an absolute beginner and finding the third loop tricky, you can work into the Back Loop Only; working into the third loop simply gives this pattern its signature ribbed texture.)
Round 2 (First Increase): Ch 1. Work 2 Hdc into the third loop (the horizontal bar located directly behind the top V) of each stitch around. Join with a Sl St to the first Hdc. (20 stitches total)

Round 3 (Second Increase): Ch 1. *Work 1 Hdc in the next stitch, then 2 Hdc in the following stitch.* Repeat from * to * all the way around. Join with a Sl St. (30 stitches total)
Round 4 (The Clean Modern Border): Ch 1. *Work 1 Hdc in each of the next 2 stitches, then 2 Hdc in the next stitch.* Repeat around. (40 stitches). To create a polished designer edge, finish with a round of loose slip stitches in each outer loop, cut a 4-inch yarn tail, and fasten off with an invisible needle join.
3 Pro Secrets for Perfectly Flat Coasters
1. Master the Invisible Finish: Instead of making an obvious knot with a final slip stitch, thread your tail onto a tapestry needle, mimic the top of the next stitch, and weave backwards through the wrong side. The perimeter will look completely seamless.
2. Steam Block with an Iron: If your coaster has a slight dome, place it under a clean cotton tea towel and blast it with steam for 5 seconds (without pressing down directly). Finger-press it flat onto a corkboard until cool.
3. Use Consistent Medium Tension: Beginners often pull cotton yarn too tight, causing the outer edges to curl upward like a bowl. Relax your grip and let the hook throat determine loop size.
Styling & Packaging Your Crochet Coasters
Pairing handmade textiles with natural textures elevates everyday living spaces.

- Tone-on-Tone Tablescapes: Stack cream coasters atop natural oak or walnut surfaces for Scandinavian contrast alongside warm earthy living room decor.
- Aromatic Gift Bundles: Pair a tied stack of four coasters with one of our handcrafted DIY botanical wax sachets for a thoughtful boutique gift package.
- Easy Machine Washing: Keep your coasters pristine by tossing them into a mesh delicates bag and washing on cold with like colors, laying flat to dry.
Frequently Asked Questions
Can I use acrylic yarn instead of cotton for coasters?
Acrylic is not recommended for coasters because it does not absorb condensation water droplets. Furthermore, hot ceramic mugs can soften or deform synthetic acrylic fibers over time, whereas 100% cotton maintains its shape and absorbs condensation cleanly.
Why is my crochet coaster curling into a bowl?
Curling occurs when your stitch tension is too tight or you have too few increase stitches per round. Try switching to a 0.5mm larger crochet hook or verifying that you have exactly 10, 20, 30, and 40 stitches on rounds 1 through 4.
What is the standard diameter for a crochet coaster?
The ideal modern drink coaster measures between 4 inches and 4.5 inches (10 to 11.5 cm) in diameter, which comfortably accommodates both narrow glassware and wide stoneware mugs.
Pin This Crochet Pattern for Later
Love this quick weekend craft? Pin this easy crochet coaster tutorial to your crochet or DIY home decor board on Pinterest so you always have the pattern ready!
Looking for an angular style for square coffee tables? Explore our tested guide for square crochet coasters with a crab-stitch border, which uses reverse single crochet to keep all four corners sitting completely flat.
Just finished my first one while having my morning coffee!! I still need to weave in the yarn tails (please ignore them in the pic haha 🙈) and my edge is a tiny bit wonky, but it actually holds my mug flat! Row 3 was a little tricky until I found that hidden back loop, but your photos helped so much. Making 3 more tonight!
Haha love the ‘Coffee First’ mug Megan! Honestly, your stitches look great for a first try, and don’t worry about the ends—I always leave them until the very end too. Once you weave them in and give it a quick steam with an iron, that little wavy edge will relax right out. Can’t wait to hear how the rest of the set turns out!