
When the weather cools down and friends gather on a Friday evening, nothing beats the welcoming comfort of a self-serve chili station. A great chili bar takes the pressure off the host because everything stays hot in slow-cookers while guests build their dream bowls with crisp, colorful garnishes. With a smart counter flow, fresh ingredients, and simple make-ahead timing, you can feed a crowd of ten for under forty dollars without spending your entire evening behind the stove.
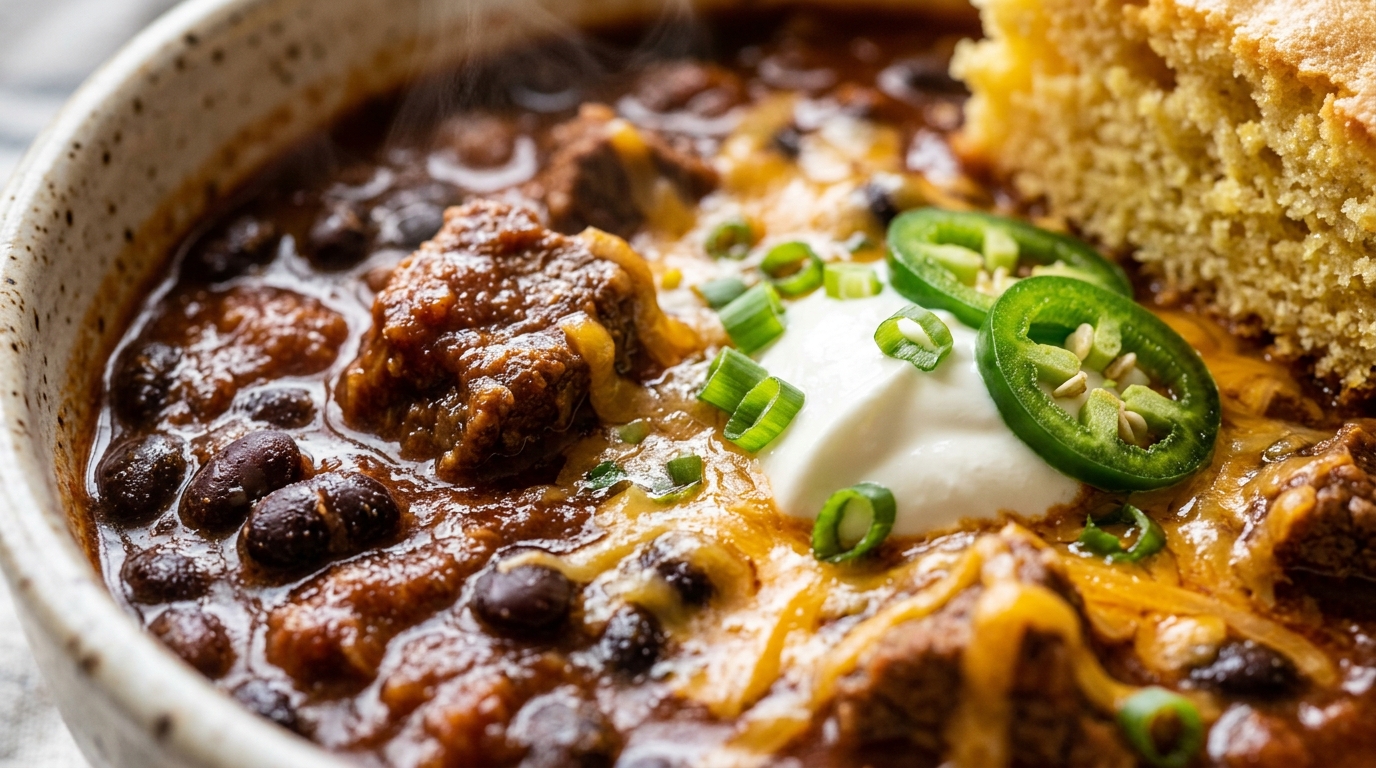
Unlike plated dinners that demand precise split-second plating, a chili bar invites conversation. Guests linger around the kitchen island, ladling steaming chili over sweet cornbread, piling on pickled jalapeños, and testing different topping combinations. Here is everything you need to set up a seamless, stress-free chili station that looks beautiful and keeps clean from the first guest to the last.
The Secret to a Seamless Self-Serve Chili Station
The biggest challenge with any self-serve food bar is traffic congestion. When ten people approach an island at the same time, ladles drip, napkins get buried under bowls, and guests end up balancing heavy hot dishes while reaching across one another. Creating a smooth one-way path keeps the party relaxed:
- Start with the Base: Place a neat stack of shallow soup bowls or wide rimmed mugs at the far left end. Wide bowls prevent messy spills and give guests room for garnishes.
- Anchor the Warm Pots: Position your slow-cookers right next to the bowls. Keep cords tucked neatly behind the countertop and set slow-cookers to “Warm” at least thirty minutes before guests arrive.
- Cluster Cold Toppings in the Middle: Arrange ramekins of cold toppings in order of weight: hearty shredded cheeses and diced avocados first, followed by lighter garnishes like cilantro and crispy tortilla strips.
- Finish with Silverware and Sides: Keep soup spoons, folded napkins, and warm bread baskets at the far right end so guests only pick them up once their bowls are assembled.
Essential Toppings: Crunch, Cream, Heat & Freshness
The fun of a chili bar lies in contrasting temperatures and textures. Rich, slow-simmered chili needs acidity, cool creaminess, and crunch to taste balanced. You do not need twenty expensive ingredients; twelve well-chosen toppings offer plenty of variety.

Organize your topping station into four flavor categories to make sure every craving is covered:
- The Melt & Cream Layer: Freshly grated sharp cheddar cheese, creamy Monterey Jack, sour cream (or plain Greek yogurt), and crumbled cotija or feta. Grate cheese from a block so it melts instantly against the steaming broth.
- The Crunch Factor: Crispy corn tortilla strips, crushed salted saltine crackers, and toasted pumpkin seeds (pepitas). Store crunchy items in dry ceramic bowls to keep them crisp throughout the party.
- The Crisp Aromatics: Finely sliced scallions (green onions), diced red onion soaked in cold water for ten minutes to soften the bite, and freshly chopped cilantro leaves.
- The Zing & Heat Boost: Sliced fresh jalapeños, mild pickled jalapeño rings, lime wedges for a bright splash of citrus, and two small bottles of hot sauce (one mild smoky chipotle and one tangy habanero).
Setting Up the Serving Line: Slow-Cooker to Silverware
Setting up your island doesn’t require specialty restaurant equipment. Standard domestic slow-cookers and everyday ceramic tableware create an inviting, homey atmosphere that feels warm and intentional.

If you want to offer options, use two smaller 3-quart slow-cookers rather than one massive pot. A classic ground beef and kidney bean chili alongside a vegetarian three-bean or Sarah Jenkins’s comforting Creamy White Bean and Spinach Soup lets everyone enjoy the party regardless of dietary preferences.
Portion Math & Grocery Budget for 10 to 12 Guests
Chili is naturally one of the most cost-effective party meals you can prepare. Because guests load up on beans, cornbread, and toppings, a little meat goes a long way. Here is a realistic grocery checklist designed for ten to twelve hearty servings:
| Item | Portion per Guest | Total Needed (10-12 Guests) | Estimated Cost |
|---|---|---|---|
| Main Chili Base | 1.5 cups (12 oz) | 16 to 18 cups (2 slow-cookers) | $18.00 |
| Shredded Cheddar Cheese | 3 tablespoons (1 oz) | 10 to 12 oz (block grated) | $4.50 |
| Sour Cream | 2 tablespoons | 1 pint (16 oz container) | $2.20 |
| Avocados (Diced) | 1/4 avocado | 3 medium avocados with lime | $3.50 |
| Jalapeños & Scallions | Assorted garnishes | 2 bunches scallions + 4 peppers | $2.80 |
| Tortilla Chips & Strips | Handful | 1 family-size bag | $3.20 |
| Cornbread Squares | 1.5 squares | 1 baking pan (12 to 16 squares) | $3.50 |
| Total Estimated Grocery Cost | ~$37.70 | ||
Warm Artisan Sides: Cornbread, Slaw & Sweet Endings
While chili is the undisputed star, rounded accompaniments elevate the counter from a quick meal into a memorable gathering. Keep the sides simple and make-ahead friendly so you never have to tend baking pans once guests arrive:
- Cast-Iron Skillet Cornbread: Bake your favorite buttermilk cornbread in the afternoon, slice into handheld squares, and keep warm in a woven napkin-lined basket. Honey butter with a pinch of flaky sea salt on the side makes it extra comforting.
- Crisp Lime-Cumin Slaw: A crunchy green and purple cabbage slaw tossed with olive oil, lime juice, and toasted cumin seeds cuts through the rich chili broth and adds vibrant color to plates.
- Finger-Food Potatoes: If you have guests who love dipping, pair your station with Sarah’s oven-baked Crispy Smashed Garlic Potatoes for an irresistible savory side.
- Autumn Dessert Pairing: When the savory bowls are cleared, bring out a pre-sliced tray of Sarah Jenkins’s Chewy Brown Butter Cinnamon Apple Blondies alongside warm spiced cider from our Autumn Apple Cider Bar Guide.
Lighting & Open Flame Safety on Busy Food Islands
Creating a cozy dinner atmosphere requires soft ambient lighting, but kitchen islands with moving ladles and reaching sleeves demand strict safety precautions:

- Zero Exposed Tapers Near Ladles: Never place slender taper candles or exposed flames in the direct path where guests lean over to dish out food. Loose knit cuffs and reaching hands are an open flame hazard.
- Enclosed Hurricane Cylinders: If you use real pillar candles, place them inside heavy glass hurricane cylinders that stand at least eight inches tall, set toward the back wall or raised breakfast ledge.
- Realistic Wax LED Votives: For tight spaces between ramekins, battery-operated flickering LED votives give the exact same warm amber glow with zero fire risk and zero smoke.
T-Minus Host Timeline: Prep Ahead & Keep Warm Rhythms
The true magic of hosting a chili bar is how calm your kitchen feels when the doorbell rings. Follow this timeline to stay completely organized:
- The Day Before: Cook your chili completely. Chili actually tastes significantly better after resting overnight in the refrigerator because spices meld and deepen. Chop hardy veggies like scallions and jalapeños and store them in sealed glass containers.
- T-Minus 2 Hours: Transfer chili into your slow-cooker inserts and set them to “Low” to bring them up to temperature gently without scorching the bottom.
- T-Minus 45 Minutes: Bake your cornbread or warm store-bought loaves in the oven. Set out empty ceramic bowls, spoons, and napkins on the serving island.
- T-Minus 15 Minutes: Switch slow-cookers to “Warm”. Fill your cold topping ramekins, slice fresh avocados with a quick squeeze of lime to prevent browning, and light your protected ambient candles.
- Doorbell Rings: Pour drinks, welcome your guests, and let everyone serve themselves at their own rhythm.
Quick Host Solutions: Frequently Asked Chili Bar Questions
How much chili should I plan per person?
Plan on 1.5 cups (about 12 to 14 ounces) per guest. If you are serving hearty sides like cornbread, macaroni salad, or smashed potatoes, guests typically take 1 to 1.25 cups. For ten adults, four quarts of chili provides plenty of food with comfortable room for seconds.
How do I keep cheese from melting in the topping bowls?
Keep cheese ramekins at least six inches away from the exterior walls of the slow-cookers. Slow-cooker outer casings emit steady heat, so placing cold dairy on a ceramic tray slightly offset from the pot keeps shredded cheddar fluffy and separate.
What is the best way to handle leftovers?
Consolidate leftover chili into airtight glass containers within two hours of serving and refrigerate for up to four days or freeze for up to three months. Leftover grated cheese, scallions, and jalapeños make fantastic omelet fillings the following morning.
Save This Chili Bar Party Guide to Pinterest
Planning an upcoming casual game day, pumpkin carving night, or cozy fall dinner party? Save this guide to your Pinterest Entertaining or Fall Gathering board so you have the shopping list and setup flow ready whenever guests come over!
Put this together on Saturday night with friends. Kept the budget under $40 just like you suggested and the table looked gorgeous without feeling stuffy. Will definitely be doing this again for the holidays!
Staying on budget while keeping things warm and relaxed is what it’s all about! Love that your friends had such a memorable night. Cheers to more effortless gatherings!
Used this setup for our small weekend dinner party and it made hosting so much more relaxed! Doing the prep checklist the morning of was a lifesaver. Several guests asked where I got the styling ideas!
That makes my heart so happy! Spreading the prep out in the morning is the single best trick for enjoying your own gathering with a cool drink in hand. Thank you so much for testing the blueprint!