
As daylight shortens and evenings turn crisp, striking a match to light a pure beeswax candle is one of the most grounding rituals you can introduce into your home. The steady, warm amber glow and gentle hint of natural honey create an inviting atmosphere that quietens the bustle of a long autumn day. Yet unlike conventional paraffin or soft soy containers, dense beeswax behaves with its own unique physics. Learning how to properly burn, trim, and maintain your candles ensures they burn cleanly, cast a soot-free light, and last through countless peaceful evenings.
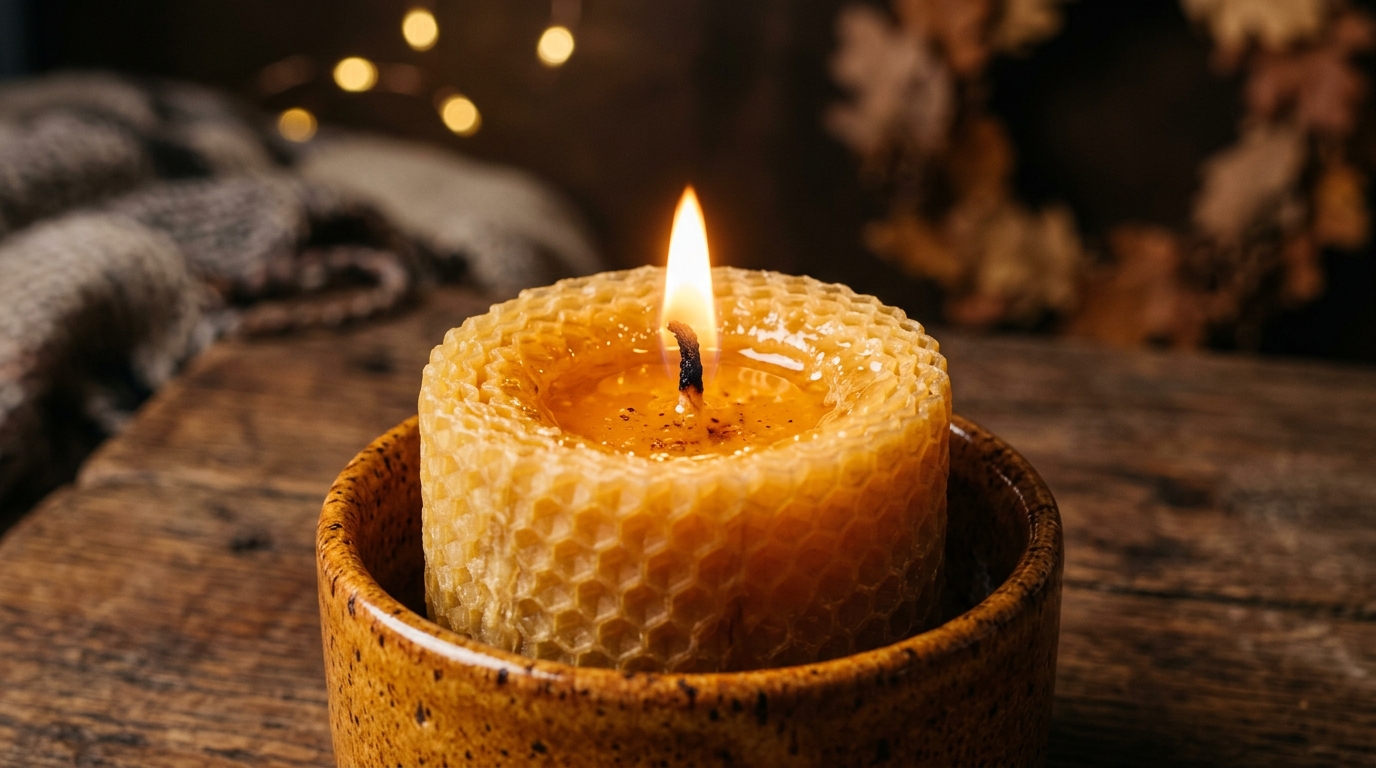
Because beeswax has a naturally higher melting temperature than vegetable or petroleum waxes, it produces an unusually bright, steady flame that burns slower and cleaner than almost any other material. However, this high density means that poor burning habits—such as blowing out the flame too early or letting the wick grow unruly—can leave you with an expensive, hollow wax shell. With a few deliberate maintenance habits and three basic metal tools, you can keep your tapers and pillars burning evenly from their first lighting down to the very base.
Why Pure Beeswax Is Worth the Care
Choosing wholesome beeswax over mass-produced synthetic alternatives brings both practical and aesthetic qualities to your living space. Here is why mindful candle care makes such a noticeable difference in your everyday environment:
- Denser, Slower Burn: The dense structure of pure beeswax allows it to burn significantly longer than paraffin or soy, giving you more hours of warm illumination per ounce.
- Minimal Soot Production: When burned away from drafts with a trimmed wick, natural cotton wicks in beeswax burn virtually smoke-free, keeping walls and ceilings clean.
- Subtle Natural Fragrance: Pure beeswax releases a delicate, wholesome aroma reminiscent of wild honey and warm comb, providing a gentle alternative to overpowering artificial room fragrances.
- Harmonizes with Autumn Evening Rhythms: Soft candle flame pairs effortlessly with our calming autumn evening wind-down routine, replacing harsh overhead fixtures with soft, restful ambient light.
Essential Tools for Clean Candle Maintenance
You do not need an elaborate kit to care for your candles, but relying solely on scissors and blowing out the wick will eventually cause smoky rooms and charred wax. Investing in three classic metal tools turns basic upkeep into an intentional, enjoyable habit:

| Tool | Recommended Style | Practical Purpose |
|---|---|---|
| Wick Trimmer | Angled steel trimmer with catch plate | Cuts cotton wicks to an exact 1/4-inch length while capturing the charred tip so it does not drop into wet wax. |
| Wick Dipper | Slender brass or steel curved hook | Gently pushes the lit wick into the molten pool to extinguish without smoke, then lifts it upright and coats it for easier relighting. |
| Bell Snuffer | Pivoting brass or bronze bell | Smothers tapers and pillars gently without splashing hot liquid wax across table surfaces. |
| Sturdy Coasters | Heavy ceramic, stone, or marble trays | Protects wooden furniture from thermal transfer and catches incidental drips. |
Step-by-Step Routine for a Perfect Burn
Maintaining a beeswax pillar or taper requires gentle consistency rather than complicated effort. Follow these four foundational steps whenever you light your candles:
1. Trim the Wick to Exactly 1/4 Inch: Before striking a match, inspect the wick. If a small carbon “mushroom” has formed at the top from a previous lighting, snip it off cleanly. A wick longer than 1/4 inch will flicker rapidly, produce wisps of black smoke, and cause uneven melting along one side.

2. Respect the First Burn Memory Rule: The first time you light a new pillar candle dictates how it will behave for the rest of its life. Follow the golden ratio: burn the candle for approximately one hour per inch of diameter. A three-inch pillar needs three solid hours to establish a molten wax pool that reaches within a quarter-inch of the outer rim. Extinguishing it after only thirty minutes creates a permanent memory ring that leads directly to tunneling.
3. “Hug” Your Pillar Candles: This is the single most important technique unique to beeswax. Once you extinguish a pillar candle and while the surrounding wax walls are still warm and pliable, use your fingertips to gently fold and press the softened outer rim inward toward the warm wax pool. This simple movement ensures that all the wax melts down evenly during future burns rather than leaving a thick, wasted rim.
4. Extinguish Without Blowing: Blowing forcefully on a candle creates a sudden cloud of acrid white smoke, scatters soot into the air, and can splash hot wax onto nearby textiles. Instead, use a slender wick dipper to gently tip the burning wick into the liquid wax pool for a split second, then immediately lift it back upright. This instantly snuffs the flame with zero smoke and leaves the wick pre-waxed for an effortless lighting next time.
How to Fix a Tunneled Candle (The Foil Tent Method)
If a candle was extinguished prematurely and has already begun burning down into a deep central canyon, you do not need to discard it. You can rescue the wax using simple household heat reflection:
- Step 1: Trim the wick so it sits about 1/4 inch above the recessed wax floor.
- Step 2: Light the candle, taking care not to let match debris fall into the depression.
- Step 3: Cut a strip of aluminum foil about four inches wide and wrap it around the outside perimeter of the candle, forming a collar that extends two inches above the top edge.
- Step 4: Fold the top of the foil inward to create a small dome or “tent,” leaving a one-inch opening in the center so the flame receives adequate oxygen.
- Step 5: Let the candle burn undisturbed for one to two hours. The trapped radiant heat will gently soften and melt the hard outer wax walls down into the central pool, resetting the surface level. Once level, extinguish and hug the edges smooth.
Pairing Candlelight with Mindful Evening Rituals
Lighting candles is most satisfying when integrated into your wider domestic rhythm. Dimming harsh overhead lamps an hour before bed and lighting beeswax tapers on a dining table or console table creates an immediate transition from working mode to evening rest:

For an especially comforting sensory atmosphere on brisk afternoons, pair your warm candlelight with a gentle citrus and rosemary stovetop simmer pot or enjoy quiet reading as outlined in our cozy indoor rainy day rituals. The soft crackle of natural botanicals and the golden glow of beeswax together transform any room into a calm sanctuary.
Understanding “Bloom” and Long-Term Storage
Over time, pure beeswax candles naturally develop a delicate, frosty white coating known as bloom. Far from being a flaw or sign of degradation, bloom is clear visual proof that your candle is made from 100% genuine, unadulterated beeswax. Natural oils slowly migrate to the surface when exposed to temperature shifts.
If you prefer a glossy golden finish, simply buff the candle gently with a soft cotton cloth, microfiber towel, or even the warmth of your bare hands. Store unused candles in a cool, dry pantry or linen drawer away from direct sunlight, which can bleach the vibrant honey-golden tint over time.
Frequently Asked Questions
Why is my beeswax candle smoking?
Smoking is almost always caused by a wick that is too long (over 1/4 inch) or an ambient draft from open windows, fans, or heating vents. Move the candle away from moving air currents and snip the wick carbon ball cleanly before your next lighting.
How long do beeswax candles last compared to soy or paraffin?
Because beeswax has a melting point of approximately 144°F to 149°F (significantly higher than paraffin’s 120°F to 135°F), a standard 3×4 inch beeswax pillar typically burns for 40 to 50 hours when maintained properly, offering nearly double the burn duration of soft container waxes.
Can I burn beeswax tapers all the way down?
For safety, always extinguish pillar candles when approximately 1/2 inch of wax remains at the bottom, and tapers when they reach 1 inch above the holder socket. This prevents the metal base or glass holder from overheating and cracking.
Pin This Candle Care Guide for Later
Love cozy autumn evenings? Save this candle maintenance guide to your Pinterest board so you have the memory ring and wick trimming tips ready whenever you light your home!
Leave a Comment